ArcGIS Pro does not need a license file, but uses your U-Mass ArcGIS Online organizational account to log in. A reminder that ArcGIS pro only works on Windows computers. If you don't have a windows computer, check out the UMass GIS Hub for the many ways you can access ArcPro, either on your own computer or on campus.
- In order to start downloading and using ArcGIS Pro, you need to log into U-Mass Amherst's ArcGIS Online organization at https://umass-amherst.maps.arcgis.com in order to create an account there. You will need this account to log in to ArcGIS Pro, and can use it to publish maps on the web, host data, and access ESRI's eTraining.
- Once logged in, you can download ArcGIS Pro by clicking on your name in the upper right hand corner and selecting "My Settings". Under "My settings" select "Licenses" on the left-hand menu. A list of software should appear, with ArcGIS pro towards the bottom. Click on the "Download ArcGIS Pro" link to the right of "ArcGIS Pro".
- On your Windows computer, click on the downloaded *.exe file. Follow the prompts for installation. It may take several minutes.
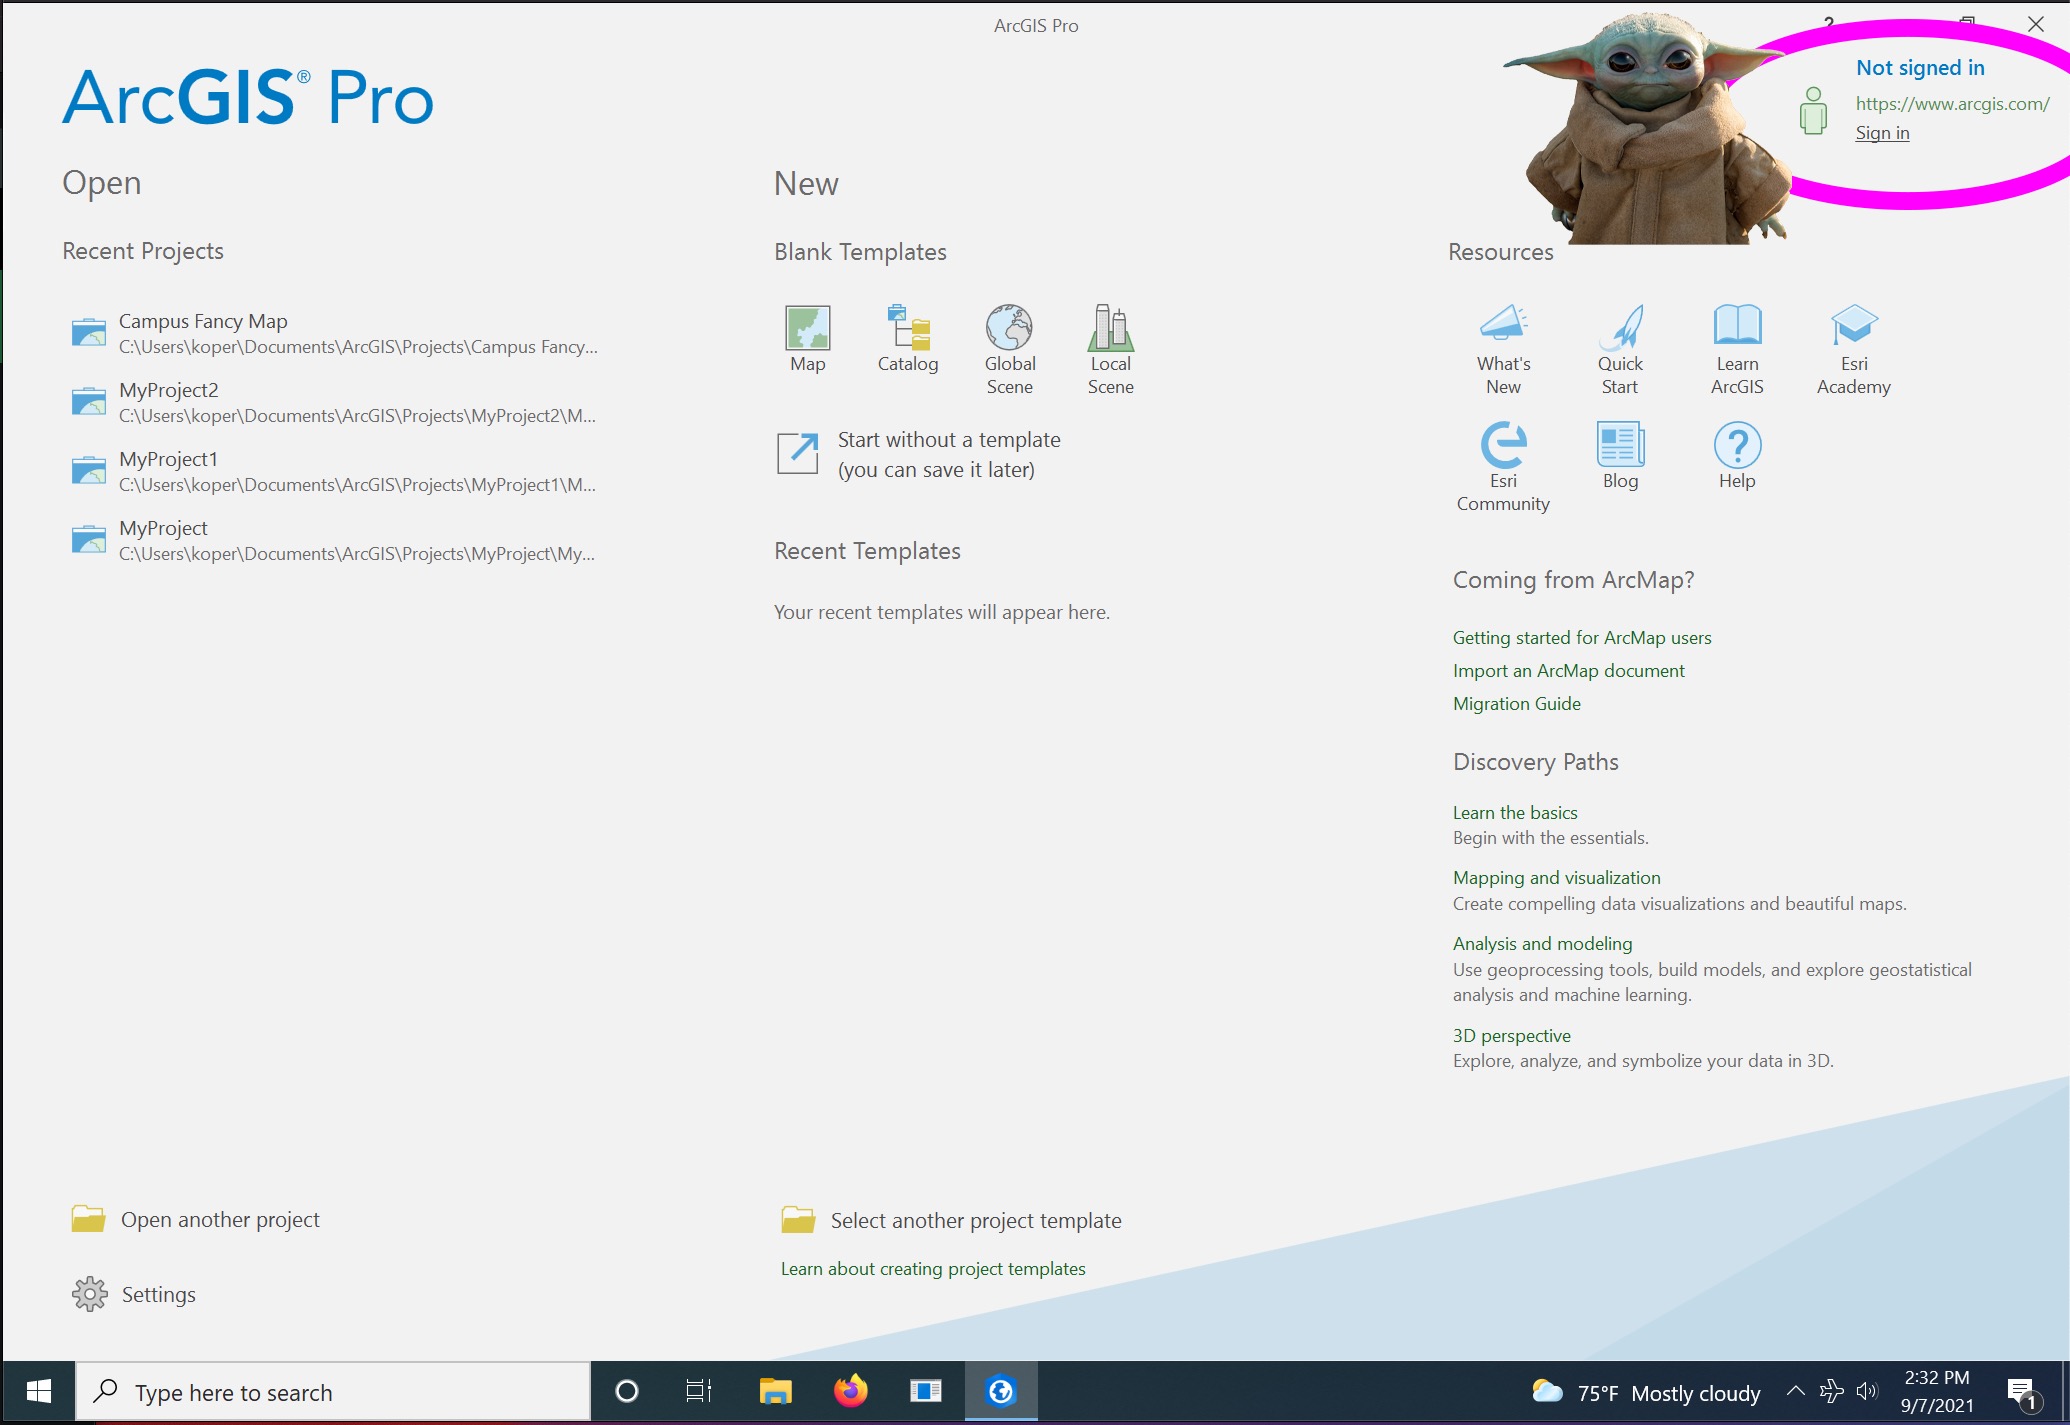
- When you start ArcGIS Pro, if the ArcGIS sign-in window appears, proceed to Step 3. If it doesn't, go to the upper right-hand corner of the screen and select Sign In... and the ArcGIS Sign In window should appear.
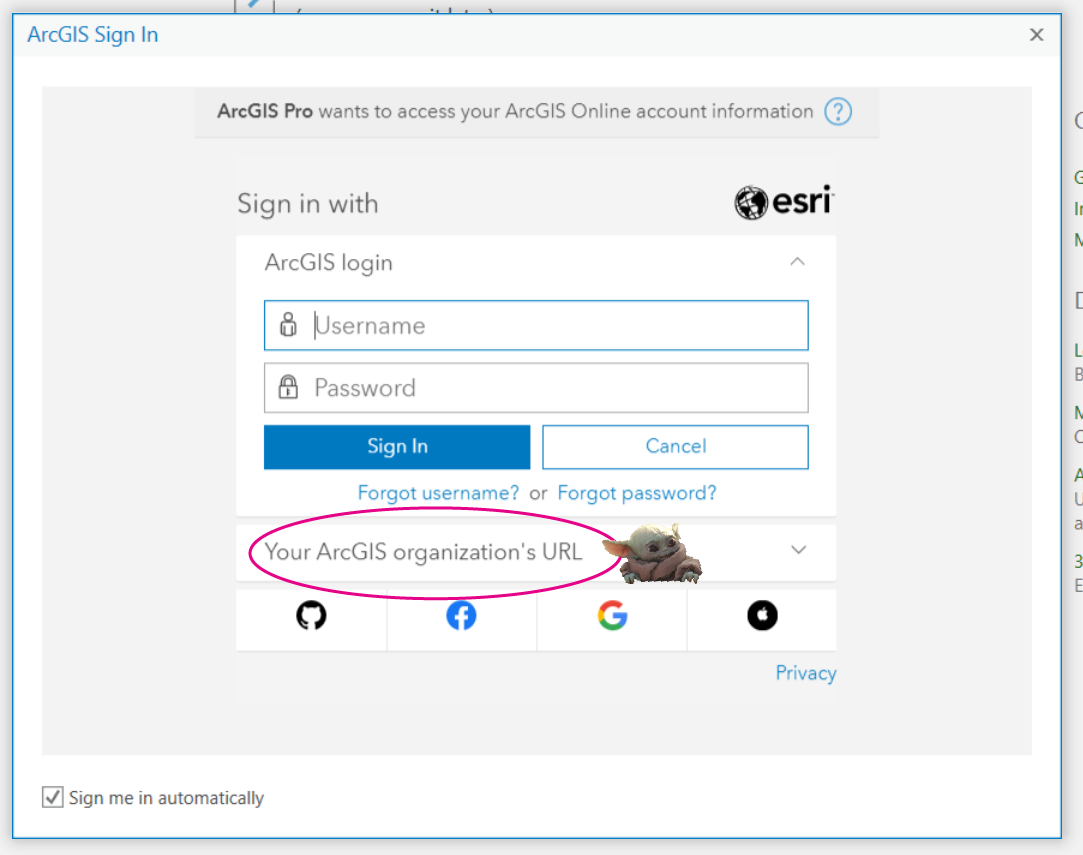
- On the ArcGIS Sign In window, select Sign in with Your ArcGIS organization's URL
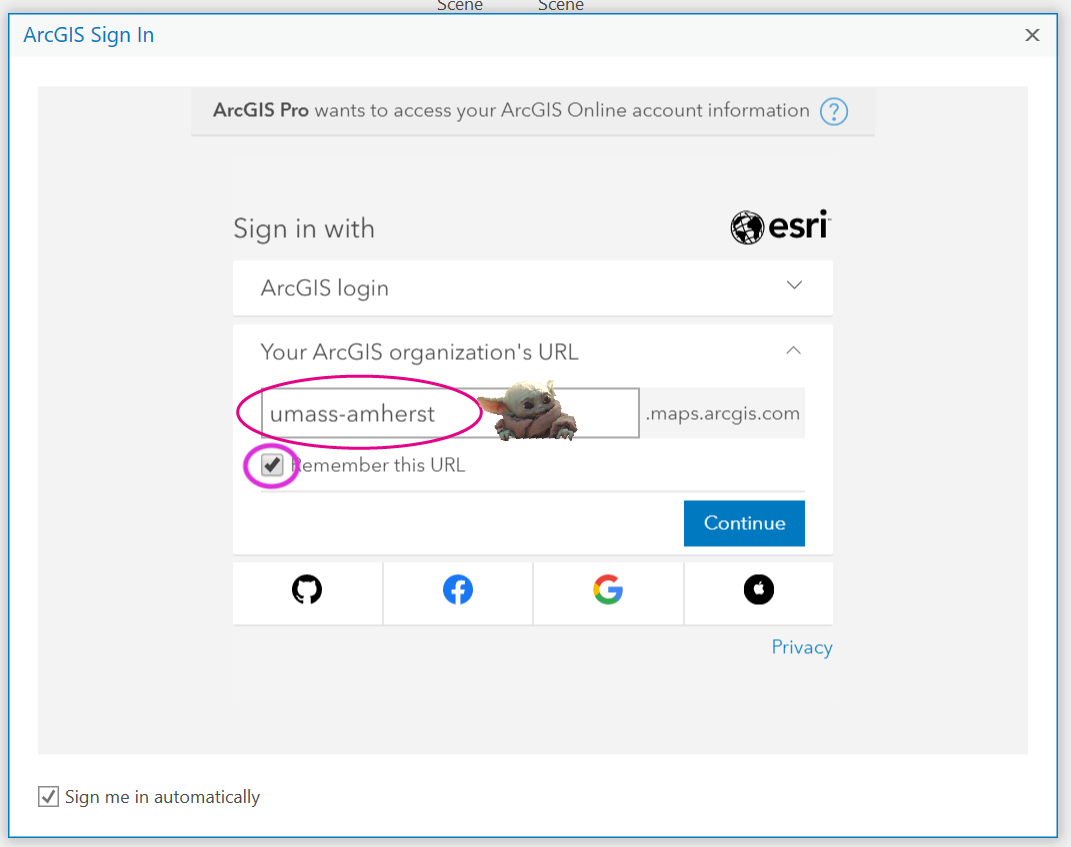
- Type in umass-amherst into the URL box on the next screen and check Remember this Link. Click on Continue.
- This should take you to the familiar U-Mass account login. Be sure that you type in your full @umass.edu e-mail adress to log in. If you don't, you'll get taken to a weird Microsoft account login screen.
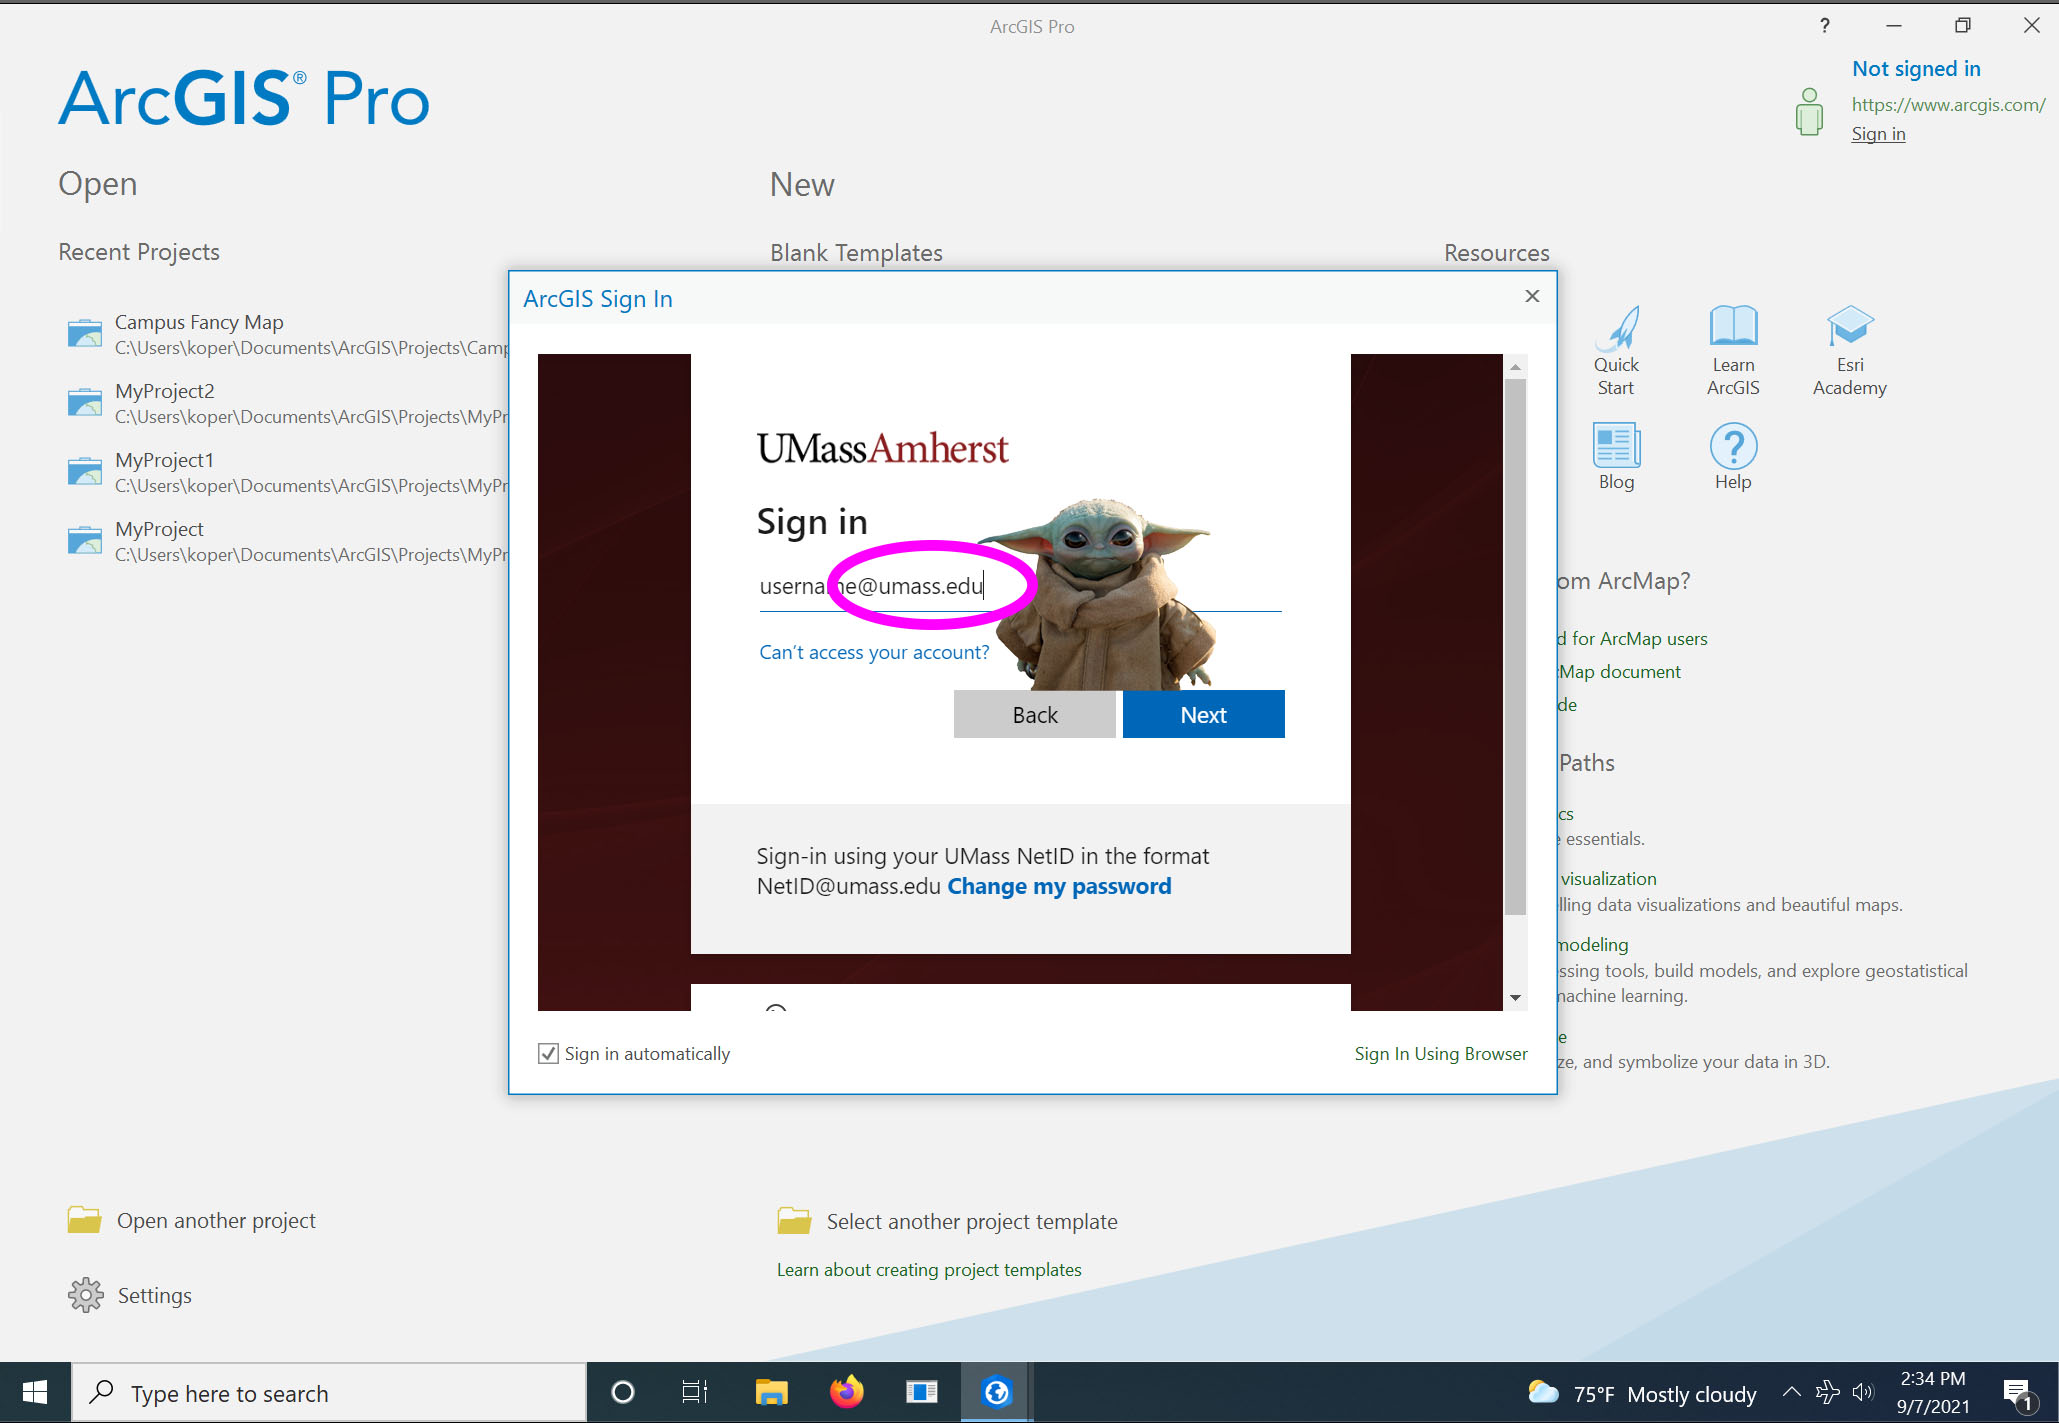
- After that, enter your password, and you should be all set to start using ArcGIS Pro, and it should show your name in the upper right-hand corner of the screen.
- Be sure to allow ArcGIS Pro to download and install any and all updates to keep it working in tip-top shape!
Please be in touch with jkopera@umass.edu with all questions and issues.